Material and Tools
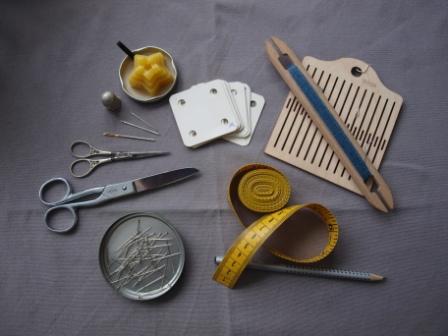
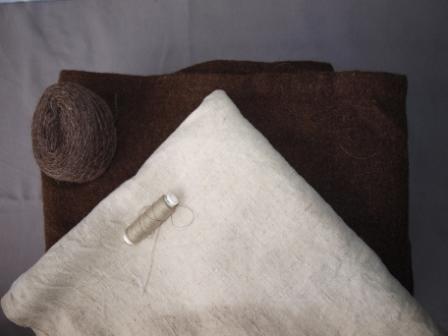
I thought it would be nice to illustrate the tools. Since I gathered everything I used, expect some unnecessary doubling. As you can see, most of them are “nice to have objects” rather than necessities … also, welcome to the non-authentic tool collection for home use!
C. Girotto 2020, CC BY-SA 3.0
C. Girotto 2020, CC BY-SA 3.0
Both, thimble as well as modern steel needles speed up the process. However, there is no evidence for thimbles, although one can easily make one out of leather. Further, I used an “extra long” (at least for my taste) needle, to facilitate the larger stitch length observed in archaeological evidence.
Making of….
C. Girotto 2020, CC BY-SA 3.0
First a general remark…while editing this post I realised myself frequently pointing out, where construction differs from the archaeological evidence and why. All these garments are supposed to be worn at museal events, they are not made to be a museum replica. In my mind this allows for minor alterations, which improve the garments longevity. Mainly, differently finished seams as archaeologically, nothing or overcasting is appropriate. Handwoven fabrics are often less likely to fray but I felled down all inside seams, regardless of the production mode. This technique is almost invisible from the outside. Further, although I tried, my stitch length is still narrower than archaeological examples.
The skirt
C. Girotto 2020, CC BY-SA 3.0
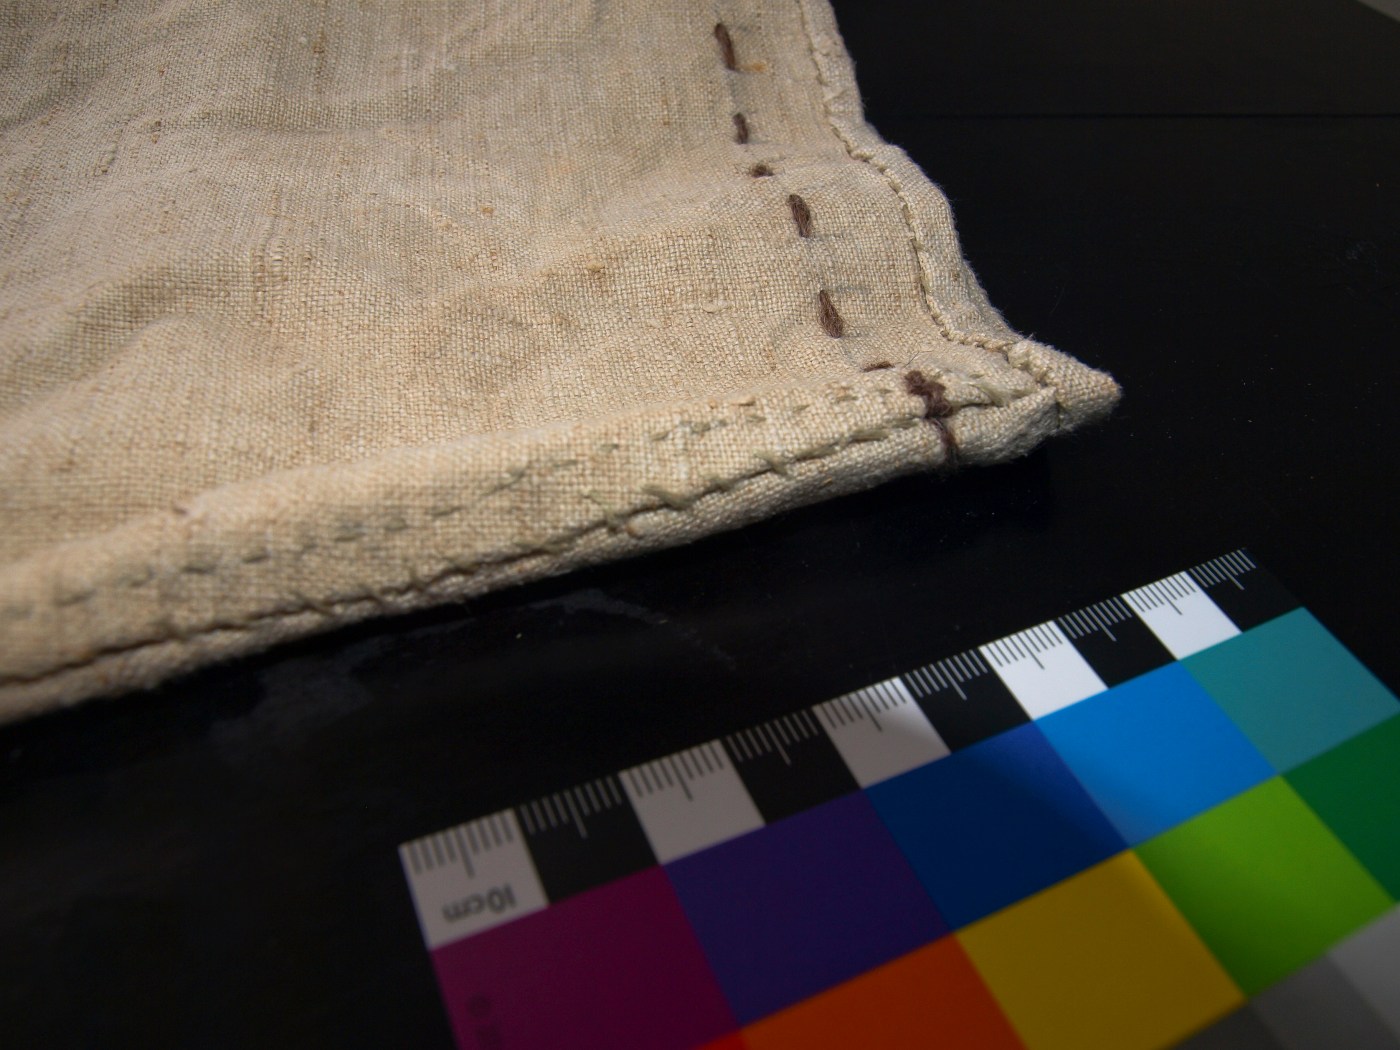
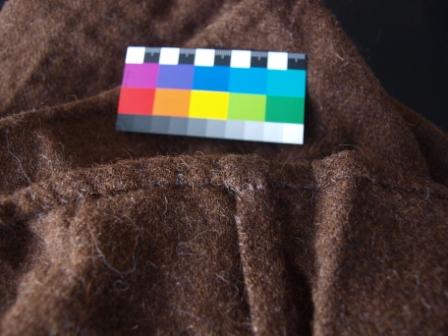
The process of this garment is probably the least interesting one. Archaeologically, 3 m circumferences woven on tubular looms were very popular. The upper and lower edge would have been the starting border as well as the lower edge of the fabric, no side seam required.
I measured waist to ankle, cut the fabric to this width (with added seam allowance) and 3 m length. It was sewn together with thin undyed brown wool (running stitch), the vertical seam as well as the hems were felled down. They are quite slim and hardly observable when the garment is worn and looked upon by a typical observer distance.
The blouse (poncho)
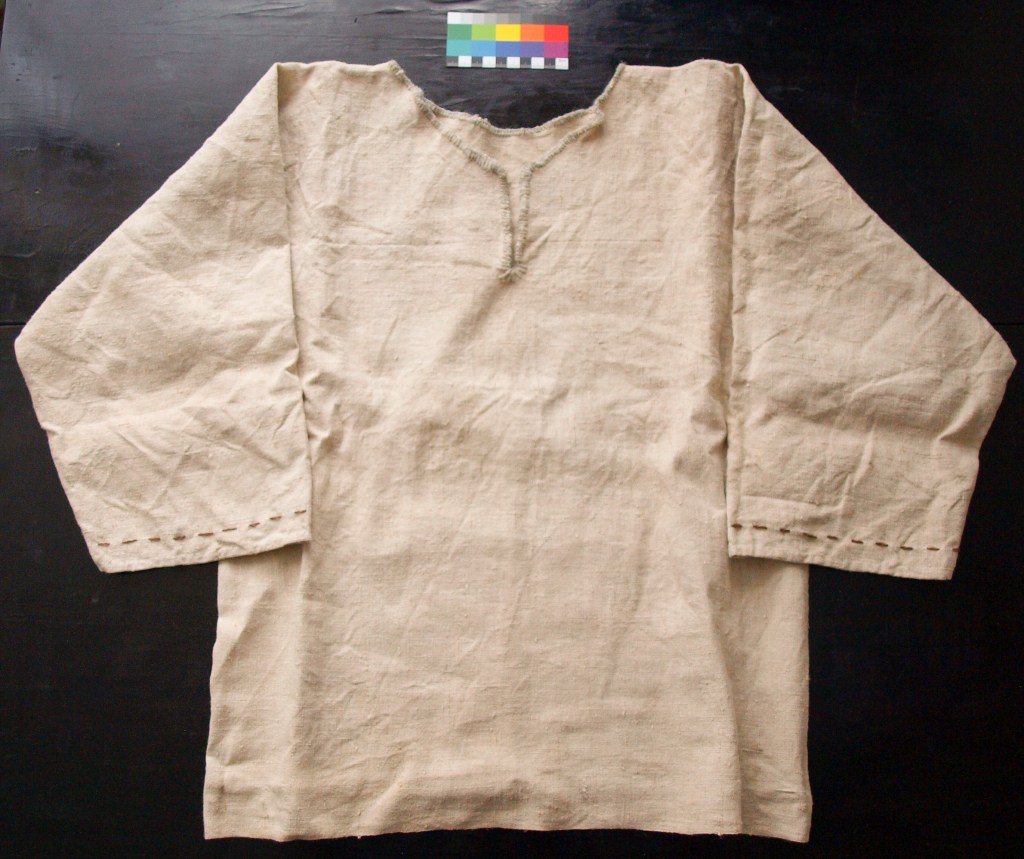
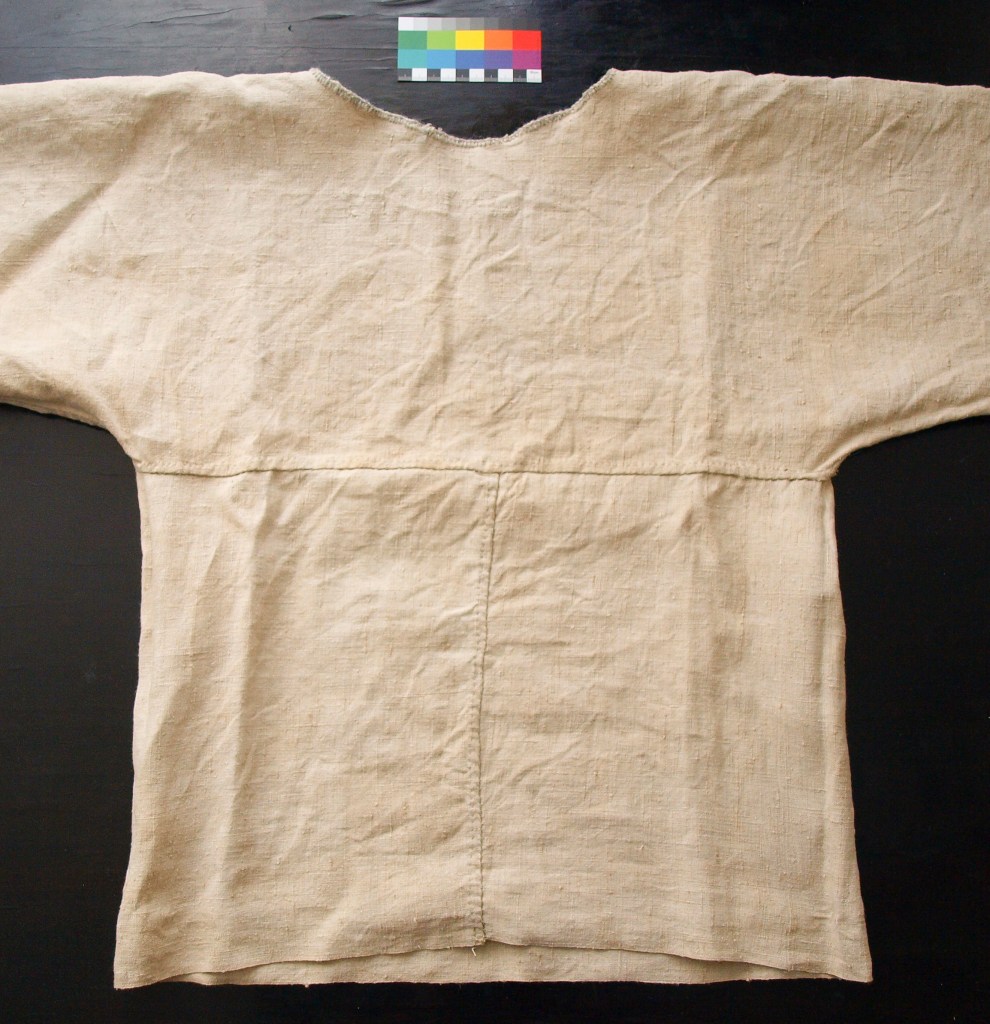
The blouse is based on the Skrydstrup pattern, which features curved arm seams. I was quite intrigued by this design choice, which is believed to reminisce predecessors made from animal skin (Hald 1980). All of the surviving examples have quite similar measurements, although the women were of different height. The cut can be achieved by folding the fabric in intricate ways and does not require any tools other than scissors. After examining some necklines, they tend to feature vertical cuts in order to facilitate pulling it over the head. Originally this one was supposed to be the piece with the collar (hence the slit in the middle) but later I realised it was cut to big for a close fitting collar. Now it features a keyhole like shape, which I am not entirely satisfied with.
C. Girotto 2020, CC BY-SA 3.0
C. Girotto 2020, CC BY-SA 3.0
C. Girotto 2020, CC BY-SA 3.0
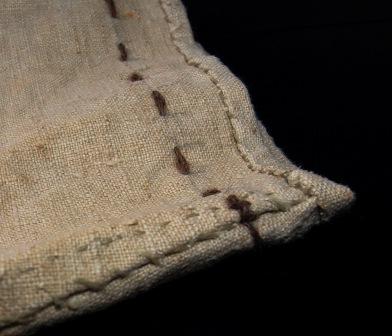
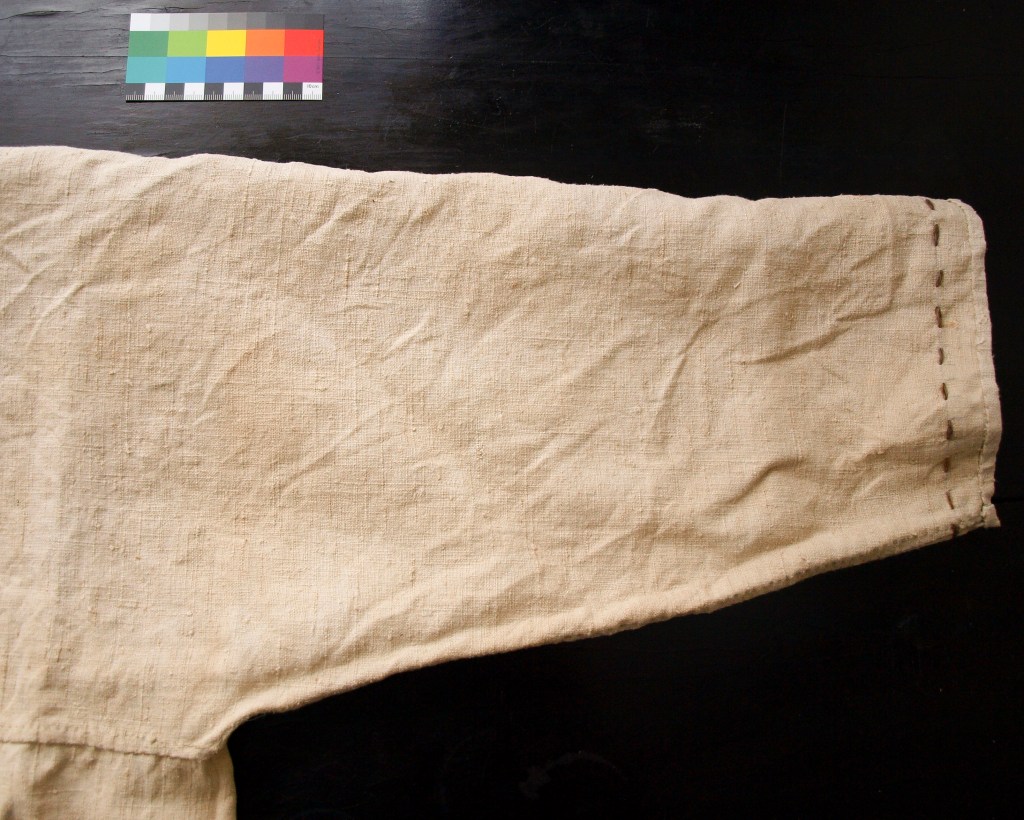
It is sewn with undyed linen thread, the neckline is bound in button-hole functional embroidery (undyed grey wool). This is an easy way to decorate a garment and simultaneously finish raw edges, frequently observed in archaeology. The brown wool running stitch (purely decorative) is based on evidence from Hallstatt.
The belt
Previously we discovered that coloured stripes are present in Urnfield Culture woven bands (HallTex 288, Grömer 2013). Whilst this is originally a starting border, one can transfer this ideas to other woven bands and I choose the three stripes pattern for my belt (and other ribbons, as you shall see). Whilst there has been some discussion on the actual technique (two hole tablet weaving vs other band-weaving techniques, like rigid heddle weaving) I decided to do both of them. One can never have to many ribbons!
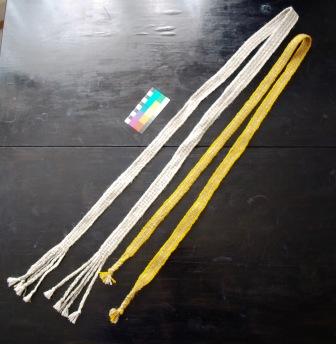
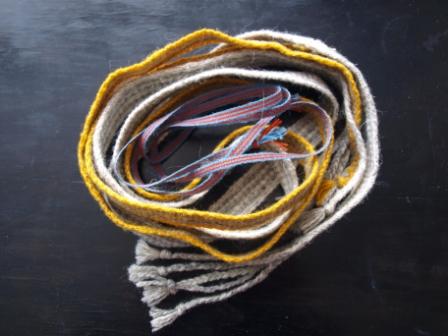
These two are my original test pieces, the grey one in natural Öland sheep wool, two hole tablet weaving (10 cards, two of each colour) and two border cards (fully threaded) on each side, for additional stability. It also illustrates the differences in S and Z threading of the cards, as one of the borders was done with both, the other with one direction. Obviously planned like that…not. The yellow-grey one features the same amount of threads but no reinforcement borders, as it was woven with a rigid heddle. The remaining wrap was plaited.
Both are roughly of equal length (grey: 150 cm, yellow: 140 cm, measured without the fringe), the width difference is simply related to the grey one being woven with less tension on the weft. The yarn has a thickness of approximately NM 12/4 and is z-spun 2 ply. Neither were done on a “proper” loom (unless you count kitchen chairs).
C. Girotto 2020, CC BY-SA 3.0
C. Girotto 2020, CC BY-SA 3.0
Time
Time is always an interesting factor in craftsmanship, not just when one is thinking about making such reconstructions but also for the people back then. Obviously I worked with fabric, meaning I cut out the most time consuming processes: “harvesting” and preparing the fibres, spinning, (dying), and weaving. Therefore, consider the timing more as an indication if you wanted to do something similar. It comprises everything, from cutting, threading up the weaving devices, sewing, finishing, decorating…
- skirt: 1.5 hours
- poncho: 3 hours
- grey belt: 3 hours (loads of involuntary card flipping involved, first attempt at a two-hole weaving technique)
- yellow-grey belt: 1.5 hours (first attempt heddle weaving)
Assembly
G. Seifert 2020, CC BY-SA 3.0
Not really a lot to say here…it just goes on. As my blouse is longer than the Nordic ones, it goes on first. Obviously the skirt is the most problematic item, as it requires one to warp oneself in 3 m of fabric. The easiest way is to ask someone to tie a belt, whilst one holds up the fabric and then arrange it to taste. Alternatively, one can step inside the mound of fabric, have a belt in reach, pull the fabric up, sort of gather it up in one big bunch and “hold above the waist with the elbow”. Then tie a belt around your waist and pull the fabric of the skirt down and distribute. There are lot’s of other ways to do this, that’s how I prefer to do it. Usually I wear two belts (one underneath the other) because…. wardrobe malfunction fear. In total it takes around 10 minutes to put it on, but that is mostly skirt sorting.
The Ensemble
Whilst searching for a picture of the ensemble, I realised … most of the time my torso was covered by shawls. They are considered a common item, as most inhumation burials feature needles in the shoulder or upper chest area.
So, please enjoy a photograph featuring the grave goods of the Lady of Trotha (Early Iron Age, ~ 550 BCE). Yes, the hairpin should go in the back of the head …we weren’t sure about the placement on the day of shooting ;-). And I managed to dig up a photograph showing the “period” versatility of the outfit, without any adornments. Obviously the pose is a part of it, but that second photograph always screams “old time farm” to me…
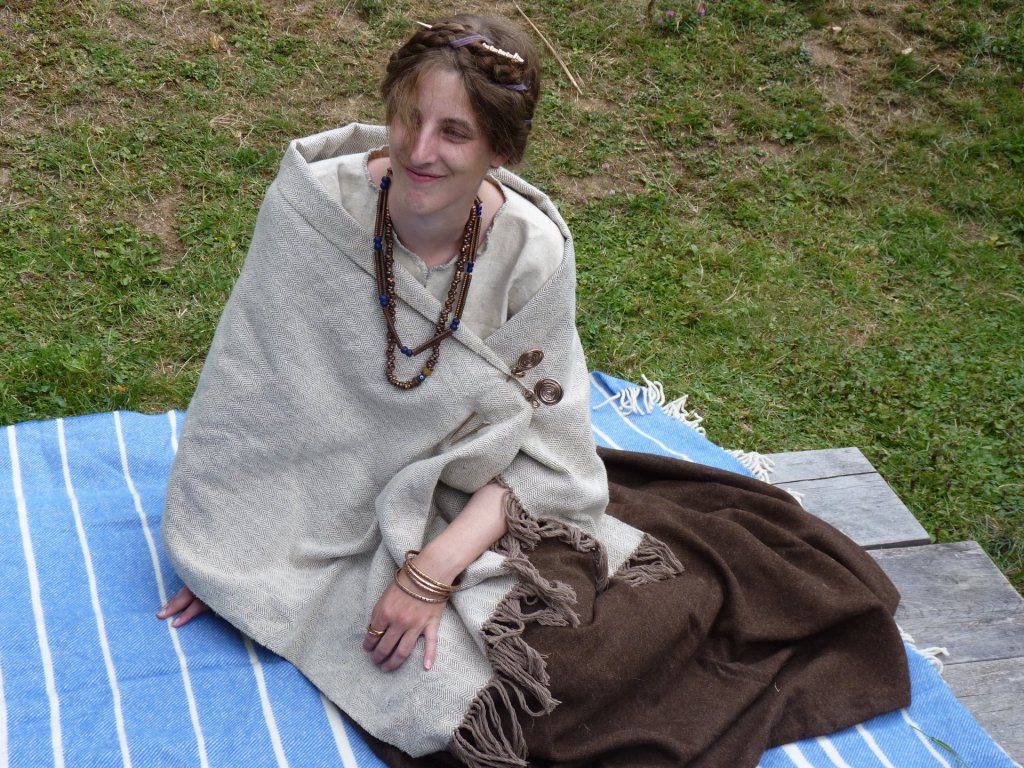
Adornments & shawl by aurea-aetas – Projekt Urnenfelderkultur/ Bronzezeit Lebendige Geschichte,
G. Seifert 2020, CC BY-SA 3.0
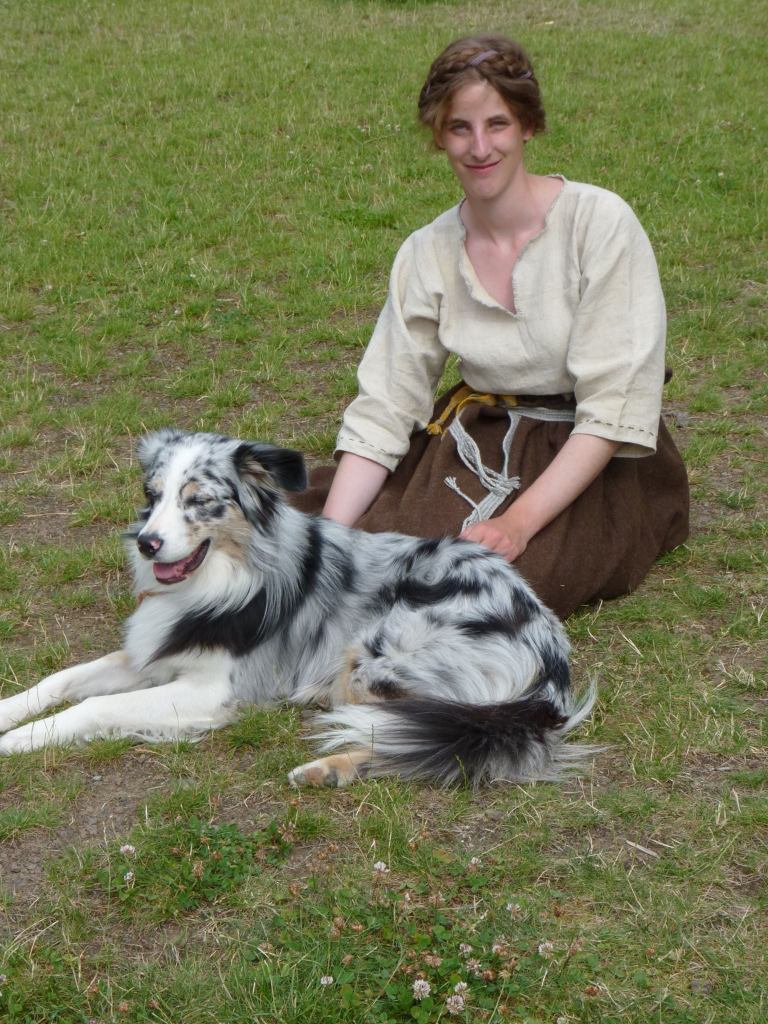
G. Seifert 2020, CC BY-SA 3.0
Literature:
Grömer et al. 2013
Grömer K., Rösel-Mautendorfer H., Bender Joergensen L. Visions of Dress: Recreating Bronze Age Clothing from the Danubian Region. Textile – The Journal of Cloth and Culture 11:3 (2013), 218-241.
Hald 1980
Hald M. 1980 Ancient Danish Textiles from Bogs and Burials. A Comparative Study of Costume and Iron Age Textiles, The National Museum of Denmark XI, Copenhagen.


Leave a Reply